Friday, June 14, 2013

Britt's Birthday Gifts...DIY Style!

After spending fifteen birthdays together, I knew that Britt's 20th birthday was a big one. I wanted to give her something special that included all of our shared interests like crafting and thrifting. Below you'll find two gift ideas perfect for the holiday season or birthdays for a friend or loved one.

Antique Skeleton Key Necklace


Aquire an antique skeleton key from an antique store, flea market or laying around the house like mine was. Paint it with your choice of color nail polish. Allow to dry and possibly add multiple coats. Simply loop a chain or ribbon through the opening at the top of the key and voila!


Chalkboard Picture Frame

All you need is an old picture frame with the glass still in it and chalkboard paint! Remove the glass from the frame and paint in one direction for the base layer. For any additional layers, paint in the opposite direction, this will create a smooth look. Allow to dry between each layer and paint as many layers as necessary until completely black. Put the glass back in the frame and you have yourself your own personal chalkboard!

Wednesday, June 12, 2013

2 for $20!


Two great finds today at Urban Outfitters! I had the luck of tracking both of these items down for you on their website!

Shirt : Sparkle & Fade Ombre Boyfriend Tee in blue $9.99 
Scarf: Textured Crosshatch Eternity Scarf in white $14.99
 **(the scarf had an additional $5.00 taken off in store, so it was $9.99)


Sunday, June 2, 2013

Scrumptious Banana Pops

Happy June everyone!!

I hope you're welcoming the change of seasons (if you have season changes that is) in a great way! I know I have been by staying inside in air conditioning.

Ha. Ha. But really, I have been working towards becoming more confident in myself physically and trimming down. Since it has been deathly hot the past couple of weeks in the North eastern U.S. of A, I have begun working an hour of pilates every day. Whew talk about a work out! While I may be cursing and sweating and dying during those 60 minutes, at the end I feel good about myself, and a couple of people have told me I'm beginning to look slimmer.

Where can I find such pilates videos that work my WHOLE body you may ask? Cassie Ho, a pilates instructor and head of Blogilates posts blog work out videos on Youtube. Check out her blog here!

Anyway, so the true point of this post I suppose is to give you a healthy and easy snack to prepare for yourself. Banana pops are indeed healthy, cheap, and a great staple during the hot summer months. Wanna make this delicious treat? Check it out below!

Materials: 
-10-20 oz. Bag of Dark Chocolate Chips (dark chocolate is the healthiest!)
-3-4 bananas (I ended up using 4 bananas which makes 8 banana pops)
-Popsicle sticks

Peel bananas then cut them in half. Take your popsicle stick and stick them straight through the base of the banana. Once you've done this, place your bananas on a cookie sheet with either parchment/freezer paper or tin foil. Let chill in freezer for at least 15 mins.

While your bananas are chilling, put bag of chocolate chips into a microwave-friendly bowl. Microwave on high for at least 40 seconds, stirring the chocolate so it is nice and smooth. You may need to put it back in the microwave a few times to melt the chips fully. 
After 15 mins, take your bananas out and dip in the chocolate! Allow excess chocolate to drip in the bowl, then place banana back on your cookie sheet.
Put bananas in the freezer until the chocolate is nice and crisp on the banana. 

Enjoy!!

--Jen


Friday, May 24, 2013

Summer Inspiration


Ever since I landed myself a summer job, the idea of traveling has been a constant thought in my mind. Seeing the world has been one of my life goals ever since I visited France last spring. For people who have never traveled out of the country, I will summarize the experience by saying that seeing other cultures and places first hand will educate you in ways a classroom never could. Now my journal has a huge list of places I must see, a bucket list of sorts.

This quote is the inspiration for me to reach every one of those destinations, but it can apply to any sort of goal you want to achieve this summer and are having a little trouble with motivation.

“Make a radical change in your lifestyle and begin to boldly do things which you may previously never have thought of doing, or been too hesitant to attempt. So many people live within unhappy circumstances and yet will not take the initiative to change their situation because they are conditioned to a life of security, conformity, and conservation, all of which may appear to give one peace of mind, but in reality nothing is more damaging to the adventurous spirit within a man than a secure future. The very basic core of a man’s living spirit is his passion for adventure. The joy of life comes from our encounters with new experiences, and hence there is no greater joy than to have an endlessly changing horizon, for each day to have a new and different sun. If you want to get more out of life, you must lose your inclination for monotonous security and adopt a helter-skelter style of life that will at first appear to you to be crazy. But once you become accustomed to such a life you will see its full meaning and its incredible beauty.”

- John Krakauer, Into the Wild

Monday, May 20, 2013

DIY Antique Wood Sign

Hey all, Jen here! Sorry for the huge delay in my promised DIY blog post. Finals week was pretty crazy, but now that we're both on summer vacation, blog posts should be more frequent!

Here is an easy tutorial on how to create your very own "antique" wooden sign that you can either give as a gift or mount around your house for an extra "oomph". Original idea found from Diddle Dumpling with just a few variations of my own. Let's get started!

Materials: 
-Wooden board (size is entirely up to you! You can find these laying around like I did, or go to your local hardware store like Home Depot & see if they will give you any scrap wood from their lumber section)
-Container of water
-Black Acrylic paint
-Large bristle paint brush
-Paint brushes of varying styles (optional)
-Printed out text you wish to have on your sign

1)
Pick out your desired font and text on a Word document. I recommend sticking to one or two words; a whole sentence can get quite muddled. PRINT OUT SO THE FONT COMES OUT BACKWARDS. This is key when transferring the text to the wood. There should be a mirror option to select before you print.

Want cool fonts like this one? Visit www.dafont.com for FREE downloadable fonts! A huge huge selection.


2) 
Here's the fun part: distress your wooden board! If you want that antique look, take a hammer and some nails, and bang away. This board was already darker in color so I sanded it up with some sand paper and hammered in some holes and nails to get the worn look I wanted.
3)
Place paper on the wood so the ink side is face down
4) 
Using your bristle brush, wet the paper where the text is. Be sure not to soak it too much, otherwise holes will form in the paper and the ink will not be able to transfer to the wood. 
5) 
Get a sharpie marker and use the rounded head end to rub horizontally/vertically over the text. This helps transfer the ink. Do not press too hard  or rub a spot repeatedly.  This will cause the paper to tear and we don't want that! Going over the text area once should do the trick; make sure you indeed rub ALL of the text.
6) 
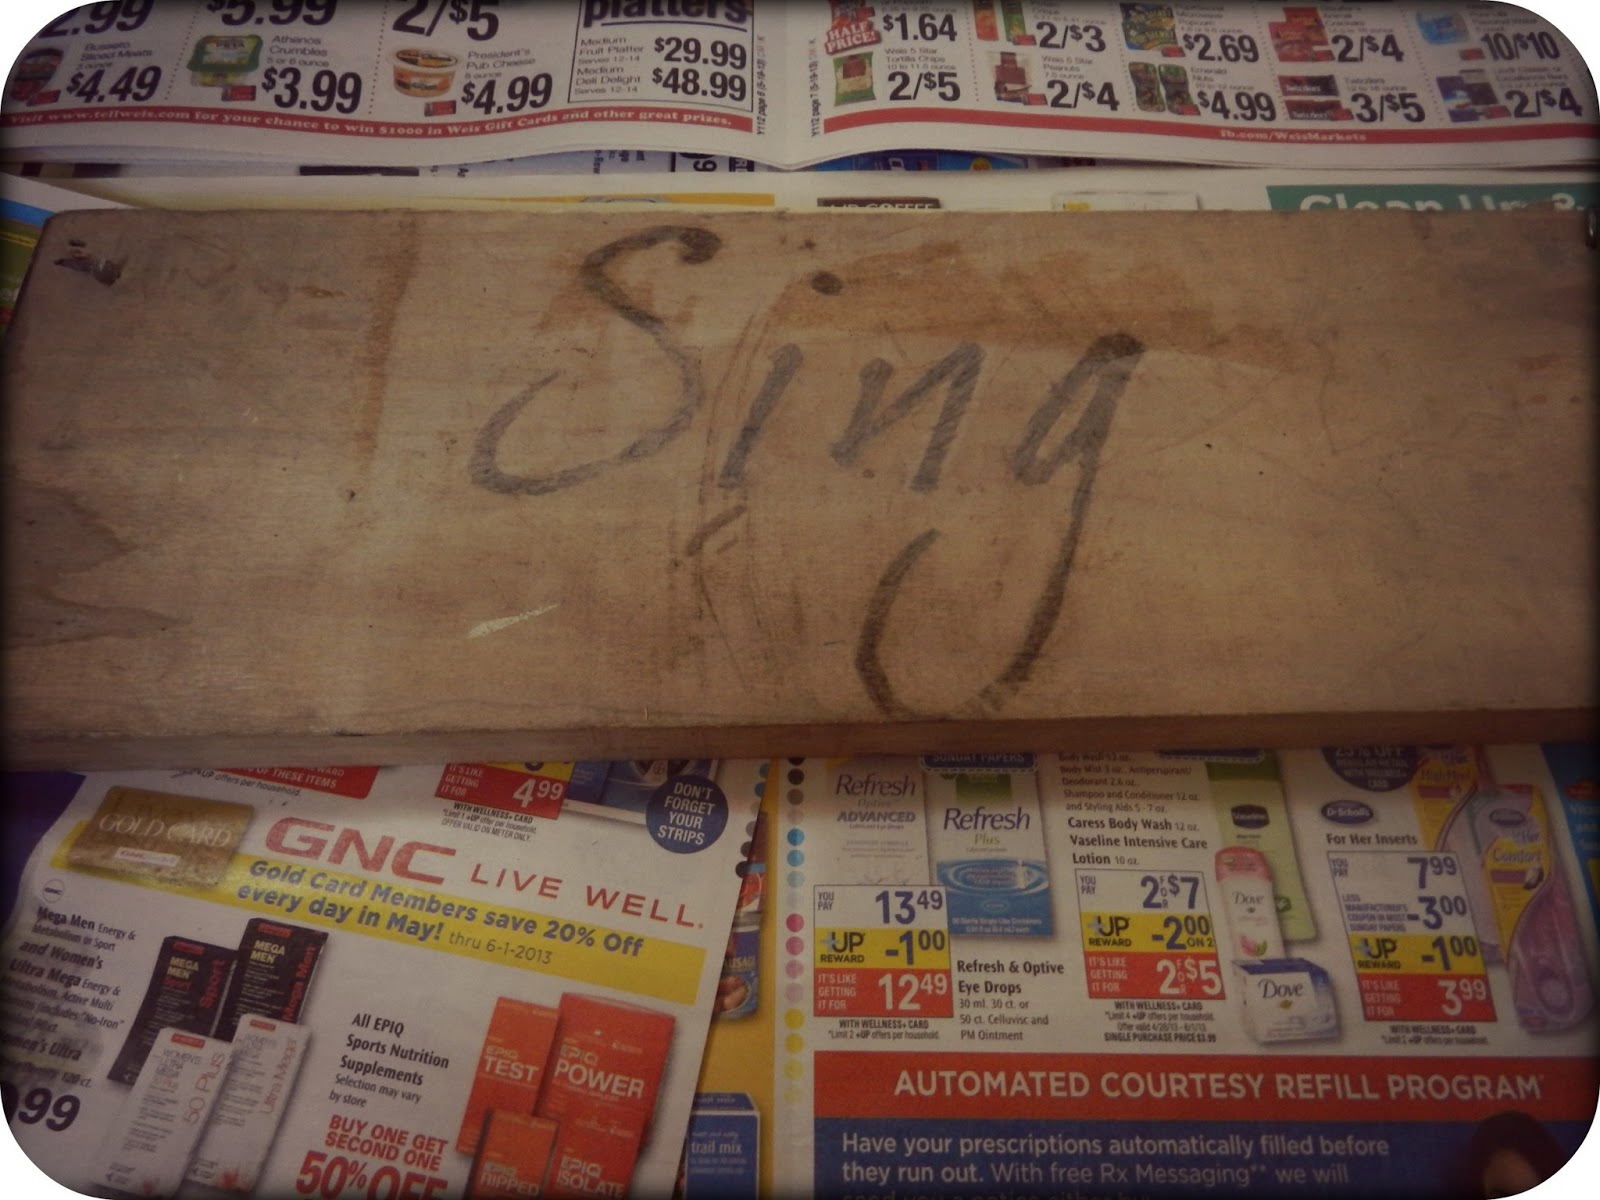
Once you remove the paper, it should look something like this; it may be darker or it may be lighter for you. You can either leave it like that if you like the faded look, but I wanted it to be darker so I decided to fill it in with the acrylic paint.
If your font is thinner like mine, use a smaller brush. Here I am using a thin angled brush from Crayola. Let it dry for about an hour.
7) 
Distress distress distress! (If you want). I wanted it to look more faded so I took a 100 grit sand paper and brushed it all over the word to roughen it up. Even then I still wasn't satisfied so I scratched at it with a nail, rougher sand paper, then used some grey paint I found in my dad's workshop I loosely brushed on the wood. 


The finished product! The sign on the left I made awhile ago using the same process. The sign used in this tutorial I am giving as a gift to my vocal teacher. 

Have fun and if you have any questions/difficulty, comment! 

--Jen


Monday, May 13, 2013

Momma Missy's Meatloaf


 In honor of my mom for a belated Mother's Day post, here is how Missy makes her meatloaf! This stuff is delicious and needless to say, I never eat it from anywhere else besides our kitchen.
Ingredients:
3 pounds of ground pork/veal/beef mixture

1 egg

2 slices of bread

½ of a small onion, chopped

1/3 cup of Italian bread crumbs

½ can of tomato soup

1/4th cup of milk

1 Tablespoon of parsley

½ Teaspoon of garlic salt

Sprinkle of Worcestershire sauce

Salt & Pepper


Directions:
 In a medium size bowl, tear the slices of bread into pieces. Pour the milk overtop. Let sit for ten minutes until the milk is absorbed by the bread. Following this, add the rest of the ingredients (in no certain order) into the bowl and mix thoroughly with your hands. When well blended, form the meat mixture into a loaf and put in a ungreased pan. Top with ketchup and allow it to bake at 350 degrees for a half an hour.

Take the loaf out and top with the remaining half of the can of tomato soup and continue to bake for another half an hour.


Enjoy!

Monday, May 6, 2013

Viva La Nature

Today Jen & I went on a hike in a local county park to de-stress and get some fresh air before our finals begin. We were blessed with this pretty lake view the entire time.

Just a reminder to stop and enjoy the little things! You're never that busy.