Materials:
-Fabric (mine is 2 yards which I think is too much so a yard should be just fine)
-Hot glue gun **make sure glue sticks are able to be used on fabric!**
-Scissors
-Hair clips (You can find these any local drug store)
-Ruler (Optional)
1.
Cut out your fabric into a rectangular shape. The size of the fabric depends entirely on how big or small you want your bow to be. Use the ruler to get exact measurements - I "guesstimated"!
2.
Fold in one side of the fabric into the center and repeat on the other side....
....so it will look like this!
3.
Fold in one end to the middle and repeat with the other end of the fabric.
It will look like this once the other end is folded; if you have any excess fabric like I do here, simply cut it off!
4.
Take your fabric and "pinch" it right in the middle. You may have to play around with the fabric in order to achieve the right folds you want for your bow.
5.
Use your hot glue gun and simply place a dot of glue in the fold and squeeze together until it dries.
6.
Cut out a rectangular strip. This will serve as the center of the bow. Mine was about the width of two fingers.
7.
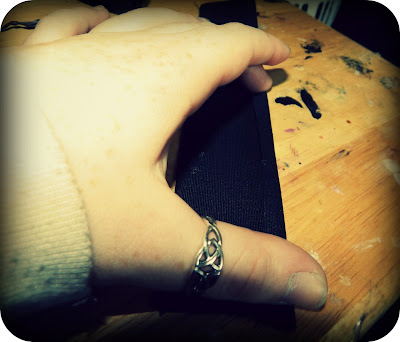
Fold in the long edge of the strip and glue down, then repeat on the other side!
8.
Wrap center strip around the middle of the bow; glue the end of the fabric where it won't be noticeable... I trimmed some of the excess fabric and glued it in the back of the bow.
9.
Finally, glue the base of the hair clip to the back of the bow, and voila! You're finished.
Here is the final look! Enjoy!


No comments:
Post a Comment